
Now you constantly have access to your text editing toolbar.

First select your desired font from the left-most drop-down menu:
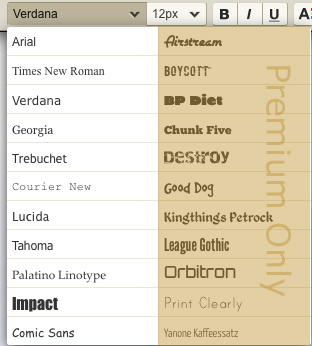
Some fonts you see are available for premium accounts only.
After you select your font, select the font size in the next drop down. Go on to make it bold, italicized, or underlined with the proceeding buttons.
The next two drop-downs let you choose your font color as well as the highlighted font color.
If you can't find a color that you want to use, click "Custom" to enter your own color using its CSS code. Here's a great site to help you pick a custom color and get the code:
http://developer.yahoo.com/yui/examples/colorpicker/colorpicker-fromscript.html
If you want to create any of your text on your page into a link, highlight it and then click the "Link" dropdown menu.
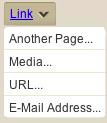
Choose to link your text to another page on your website, a media item, an external URL, or an email address.
The next four buttons let you select the justification of your text: left, centered, justified, or right.
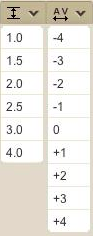
Next you will find the drop downs for line height and letter spacing. When your font gets too big and starts to run into itself, you can use the line spacing tool to spread out the text. Or in the opposite situation, if you want your text to be closer together, use the tool to shrink the space. The same principles go for the letter spacing tool.
After you make changes and you decide you want to revert them back to their original state, just click clear and start again!